In this tutorial, we will not discuss—or settle—the ongoing discussions of how to pronounce the file format GIF. What you will learn, however, is to make instructional animated image files to use to teach technology in an easy way on a website, like this one:
GIF (graphics interchange format) is a file format that is over thirty years old. It was introduced in 1987 as a color image format by CompuServe but you likely know them best as the animated images (memes) that you can attach to your messages on your smartphones these days.

While GIFs have been mostly used for silly and playful content (they have been called “the true artistic medium of Internet”), they can also be helpful in teaching different steps in technological tutorials. It is easy to use the image format to capture details and actions on the computer screen, which prove helpful in learning technologies.*
Let’s get started!
* Paradoxically, I am not using GIFs for much of this tutorial as Giphy Capture cannot be used to capture GIFs of its own windows.
Step 1
Download and install Giphy Capture
There are many tools available to capture your screen, but in this tutorial, we are going to use Giphy Capture.
Download the Giphy Capture app for your computer. If you have a Mac, you can easily install it from Apple’s App Store.
Step 2
ALLOW FOR SCREEN CAPTURE
Note: If you have the latest operating system on a Mac (macOS Catalina, version 10.15), you have to allow the program to record your screen. If this does not apply to you, you can skip this step.
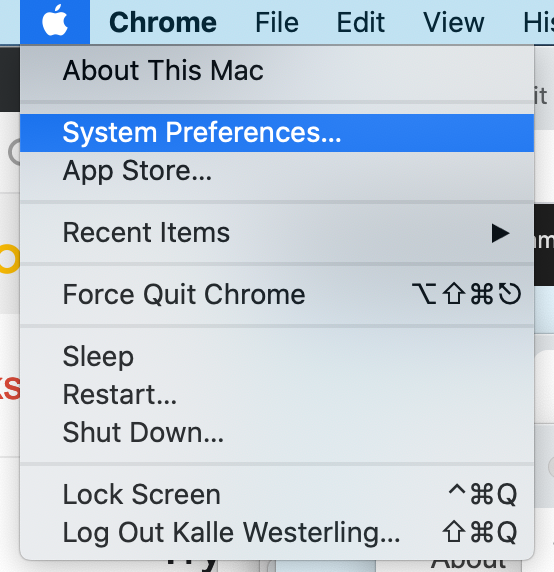
Select “System Preferences…” from your Apple menu.

Select the “Security & Privacy” icon.
Select “Privacy” tab.
Select “Screen Recording” in the left-side menu.
Finally, click the checkbox next to Giphy Capture’s icon.
If these options are dimmed and you are unable to click them, you may need to unlock the options by first clicking on the padlock in the lower left corner and type in your password.
Step 3
Record something
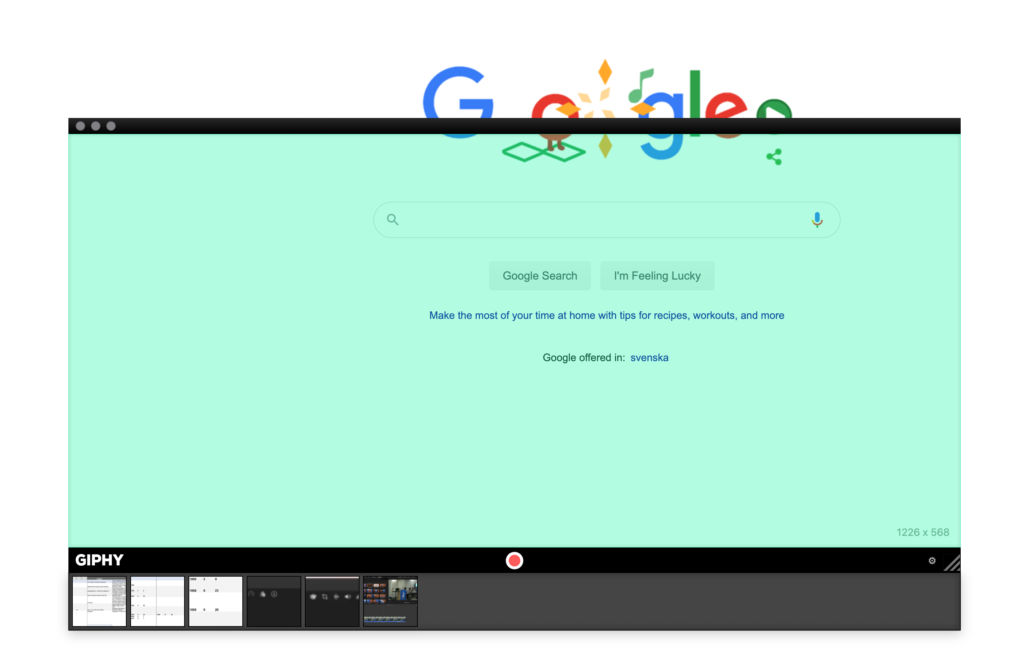
Once you open the app, the apps window will show and overlay anything on the screen, with the green area indicating what will be recorded in the GIF you want to create.
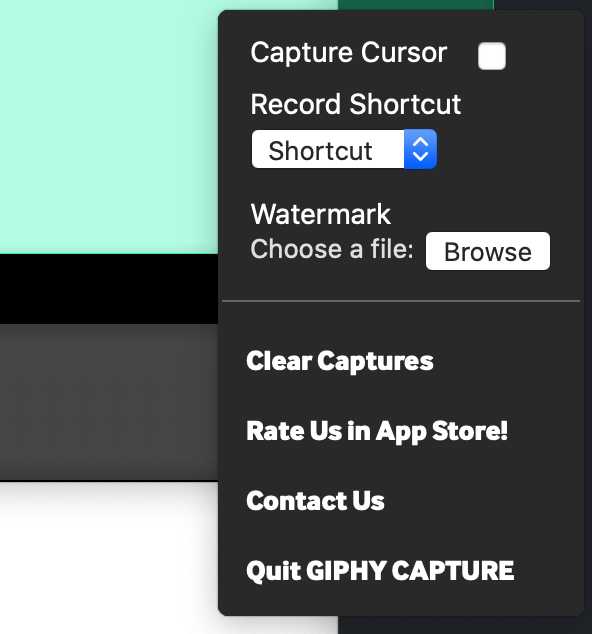
Press the cogwheel in the lower right corner, just below the green area, and make sure “Capture Cursor” is checked.
The reason we want to capture the cursor is to be able to show our actions better in the resulting GIF.

Place the window over the area you want to record, and press the “record” button in the middle of the window area. It is the red dot in the middle.
The window will proceed to record whatever is within the green area. In order to stop Giphy Capture from recording, you need to press the “record” button once again.

When you’ve finished recording, you should see the “video” in the window’s bottom area.
If nothing shows up after you finish the recording, you may need to allow for screen capture (see step 2 above).
Step 4
edit the gif
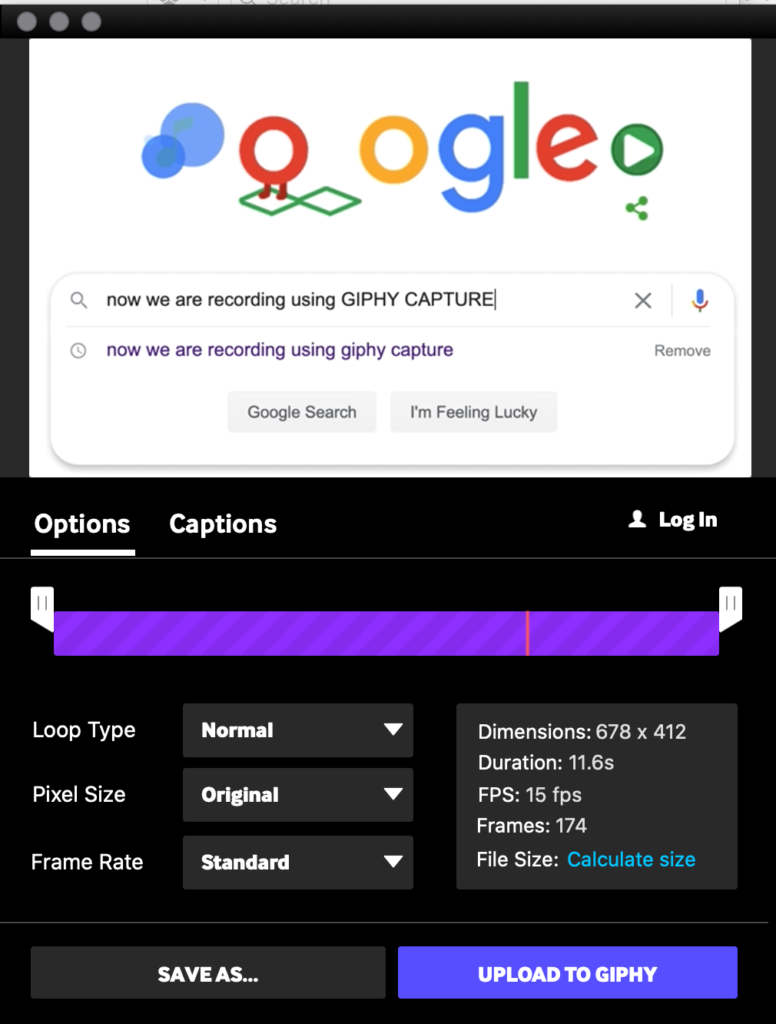
Click the small preview icon of the “video” that you just recorded, and this new window should show up.
There are many features here to use, but to point out the most important ones:
- The purple bar with markers for start and end: These can be dragged to crop your animated image’s start and end points. Make sure to edit down your image to show only what you need to show.
- Pixel size: If the area you have recorded is rather large, you may want to choose a smaller size here. Keep in mind, however, the accessibility aspect of making your animated image clear for those whose eyes may have trouble making out small details.
- Frame rate: An animated image is made up of a number of images (or “frames”) per second. For your purposes, “Low” (10 frames or images per second) will likely be a good setting here. Try it out. In the preview on top, you can see what your final result will look like.
When you are happy with the way the preview looks, you are ready to move on to the next step.
Step 5
export the gif
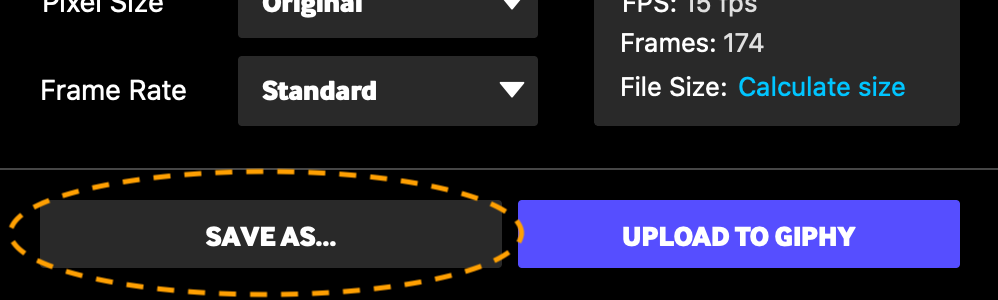
At the bottom of the window where you made your edits, you will see a button labeled “Save As…” — Click on it!
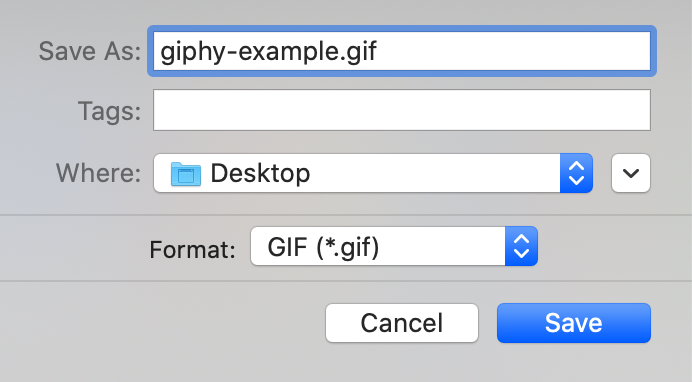
Choose where you want to save the finished file.
(optional)
exporting to various formats
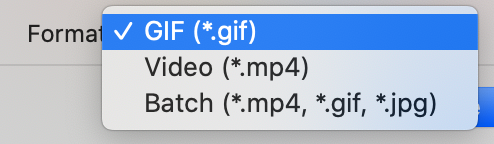
Here, you are able to choose between:
- GIF, an image format that can feature the desired animation capability that we want.
- MP4, a video format
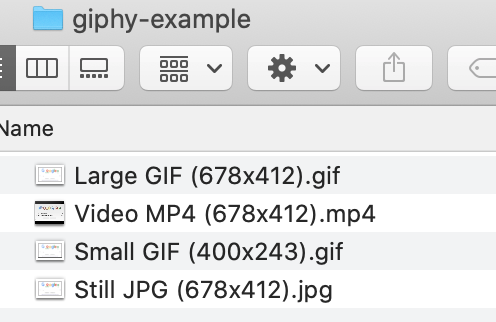
- A “batch” format, meaning that the result will be a folder containing all of the formats above as well as a still JPG file. A JPG (also called JPEG) is a file format that cannot contain animations:
You’re done!
Now you have a resulting file that should look something like this, and can be uploaded (as this example below shows), on a WordPress site, for easy loading in a web browser:
a couple of things to consider… (best practices)
Do not record your entire screen as GIF images. They will not be effective. Rather, focus in on the area of your screen that you want to show. It will make for better animated images, and smaller ones (with better load times) as well.
Consider accessibility concerns with animated images, just as you would with regular images and any content on the web.
other resources
Soraya Okuda, “Teaching an educational GIF workshop at RightsCon,” uses a bit more of a technical way of creating the GIFs but nevertheless a great resource.