As the semester winds down for students and faculty alike, there’s no time like the present to take a moment to think about your online scholarly profile. Do you have an online portfolio that gathers your various academic achievements in one place? If you haven’t done so already, consider creating a profile on the CUNY Academic Commons!
What is the Commons?
The CUNY Academic Commons is an academic social network created by and for the CUNY community. (If you’re reading this post, you’re on the Commons right now!)
Built with open source software, the Commons gives users autonomy over their content. Members of the Commons community can edit and update their profile at any time and don’t have to worry their data being harvested or sold. Commons users are allowed to create as many sites and groups as they wish: be it a simple, straightforward profile, a more comprehensive portfolio or blog, or a devoted site for a course, symposium, or working group.
This post will guide new users through the basics of building a personal site on the Commons. Your site will function like a dynamic, digital CV, with dedicated areas to showcase your teaching, research interests, publications, and any other areas of scholarly endeavor you want to share.
Getting started
| Step 1: | Visit the Registration page on the CUNY Academic Commons.
|
| Step 2: | Register to create an account with your CUNY email address.
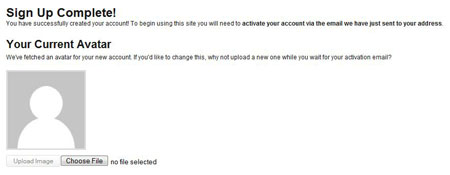
You will also be required to select a username, campus affiliation, and institutional role. Once you have filled out the required fields, click on “Registration Complete.” You should see the following page:
At this time, you my upload an avatar if you wish. Users can change their avatar at any time. Check your Grad Center email account to activate your Commons account. Click on the URL in the email to confirm your registration. Be sure to look in your junk or spam folders if you don’t initially see the email in your inbox. |
| Step 3: | Start building your Commons Profile!
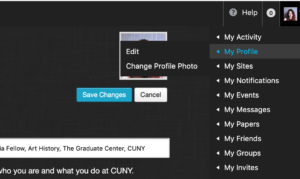
To edit your profile, hover over your avatar on the top right corner of the screen to make a dropdown menu appear. Select “my profile” and then “Edit.”
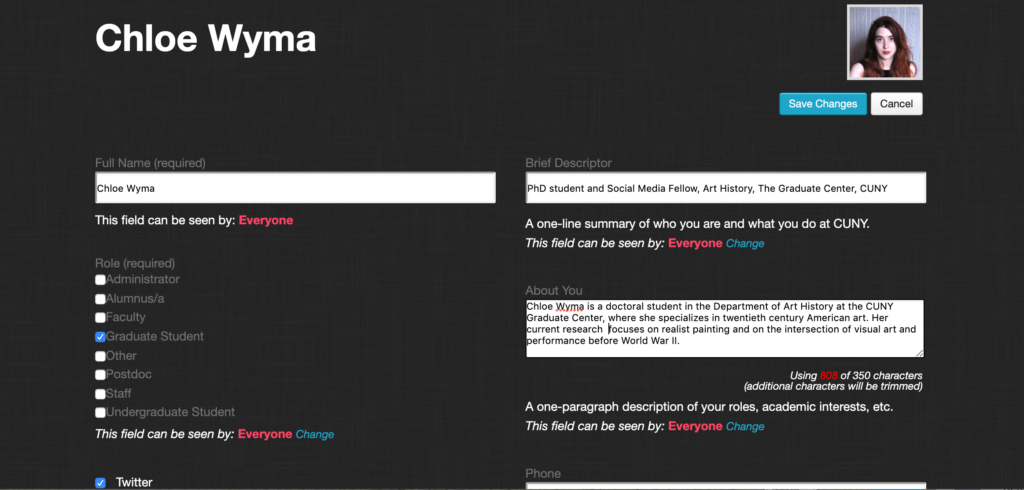
You will have the option to add a one-line summary of who you are and what you do at CUNY; a one-paragraph description of your work; contact information; links to your other websites, blogs, or social media pages; academic interests; publications; education history and more. These fields are optional, and you can make your Commons profile as detailed as you wish. You can always return to your profile and make changes at a later point.
|
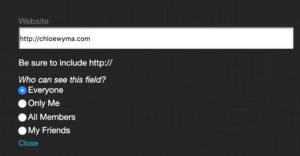
| Optional | You can control who sees what information on your profile. Click “change” to determine the visibility for any field.
|
Creating a site on the Commons
Now that you’re a member of the CUNY Academic Commons, you can start building your online portfolio. If you want a to create a blog on the Commons, you will need to come up with a URL and a title. The title of your blog can be changed later, but the URL will remain constant. As the CUNY Academic Commons Wiki Archive explains:
All blogs on the commons adhere to the following URL pattern: https://xxxxxx.commons.gc.cuny.edu – where “xxxxxx” is the node that you provide here. Try to keep your blog domain name a manageable length. This will be the url you’ll want people to use to read your stuff. Can’t decide? You can always set a blog later. You can add as many blogs as you want.
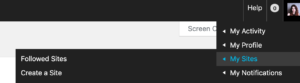
| Step 1: | Click on “My Sites” and then “Create a Site” from the dropdown menu on the left.
|
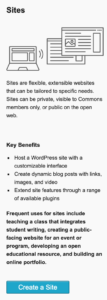
| Step 2: | Select “Create a Site”–the central blue button at the bottom of the page
|
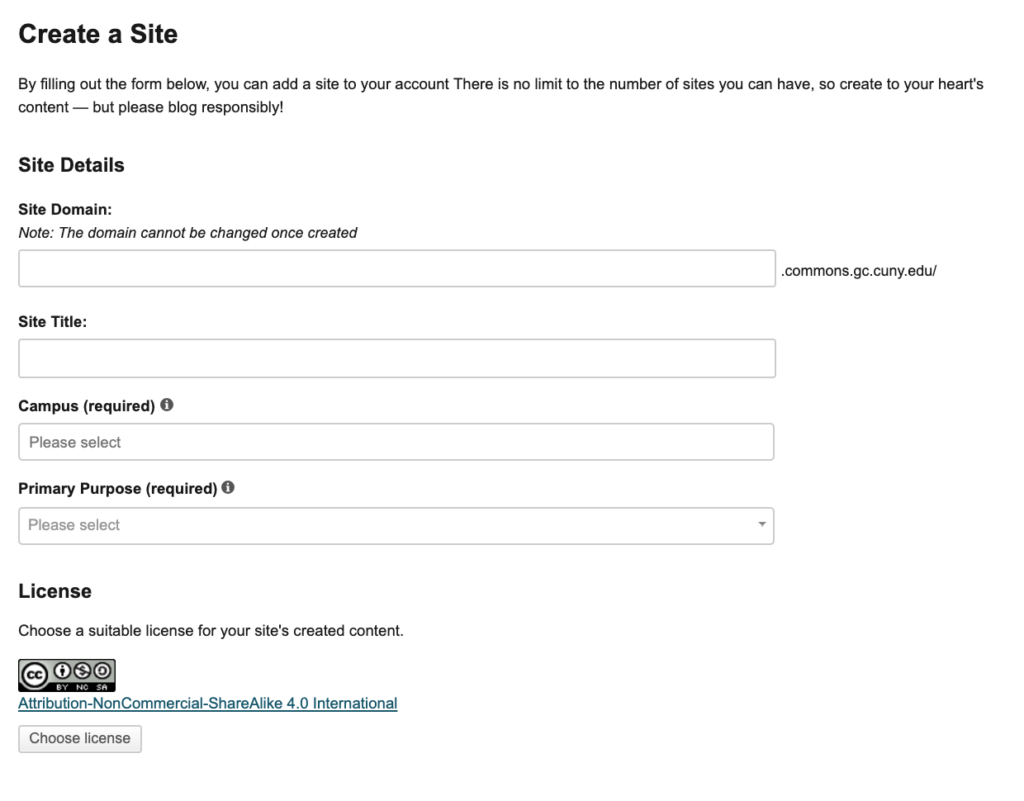
| Step 3: | Choose the domain and title for your site. Please note that you cannot change the domain once it is created. Also select the appropriate CUNY campus and primary purpose for your site.
|
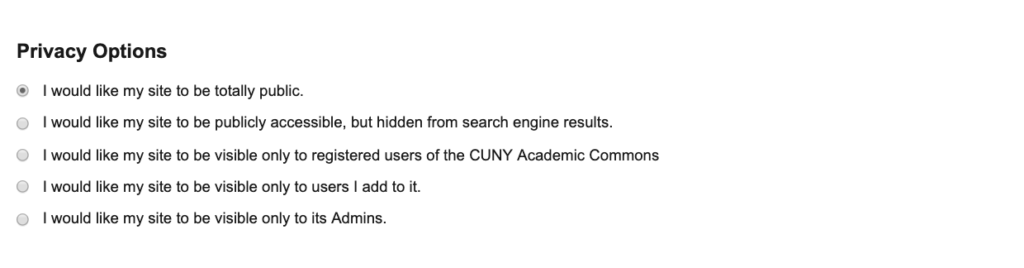
| Step 4: | Select your desired Privacy Options. These can be changed later.
|
| Step 5: | Now it’s time to select a template. If your objective is to build a personal academic website, I suggest using the Academic Portfolio template, which is designed for this purpose. This template comes pre-populated with the following pages: “Welcome”; “CV”; “Research”, “Teaching”; and “Service”; as well as a “News” category for updates and blog posts. Any one of these sections can be renamed, expanded or deleted as you see fit.
If you want to see an example of how the Academic Portfolio template can be used, take a look at the Academic Portfolio demo and think about how you’d like to organize your site. |
| Step 6: | Click “Create Site” at the bottom of the page.
|


Choosing a theme for your site
| Themes help determine the look and functionality of your WordPress site.
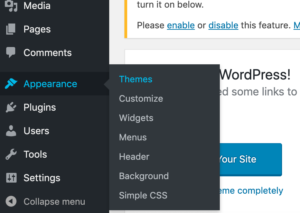
When you first create a site, it will come already outfitted with a theme. For example, the default theme for the “Academic Portfolio” Template is “Academica.” You can change your theme at any time by clicking on “Appearance” on the righthand vertical menu and then selecting “Themes”: |
 |
|
|
|
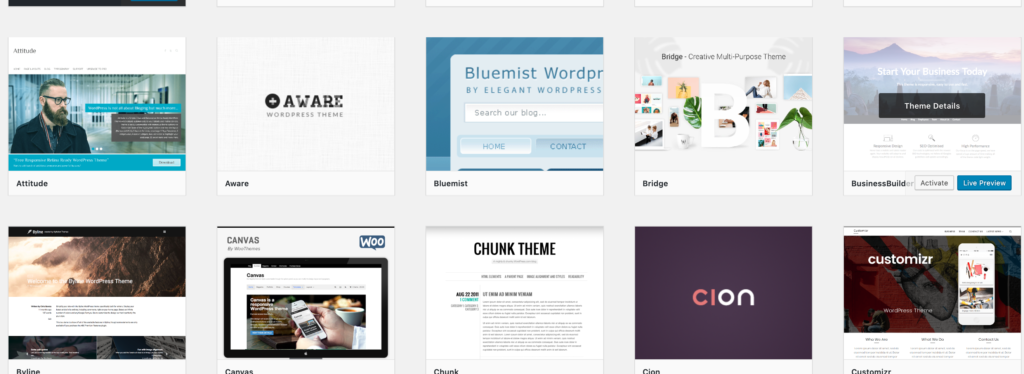
This will provide you with a list of the available themes to choose from. The Commons has dozens of Themes to chose from. When browsing around for a theme, think about what you need from your site. Consider the following questions:
If you’re not really sure what theme is right for you, don’t worry. Feel free to try out different themes. Remember, you can always change it later. |
 |
Creating content: Pages and posts
Now that you’ve selected a theme, let’s focus on the content of your site. On WordPress, there are two main types of content you can produce: Pages and Posts.
| Pages: Though you can update them at any time, pages are ideal for static content, such as your bio, research interests, and contact information. Pages are not listed by date and can’t be categorized or tagged. | 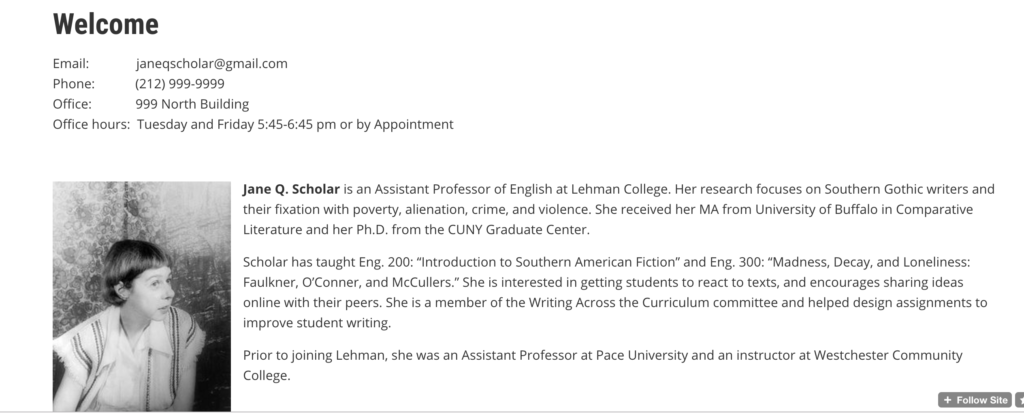 |
|
|
|
| Posts: Posts, on the other hand, are ideal for dynamic content, such as blog posts, course content, and news. | 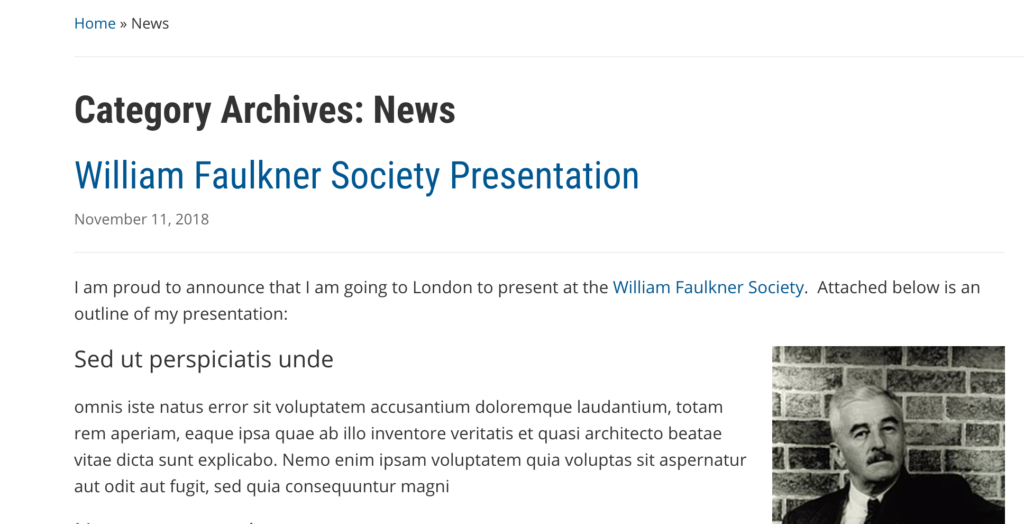 |
Editing Pages
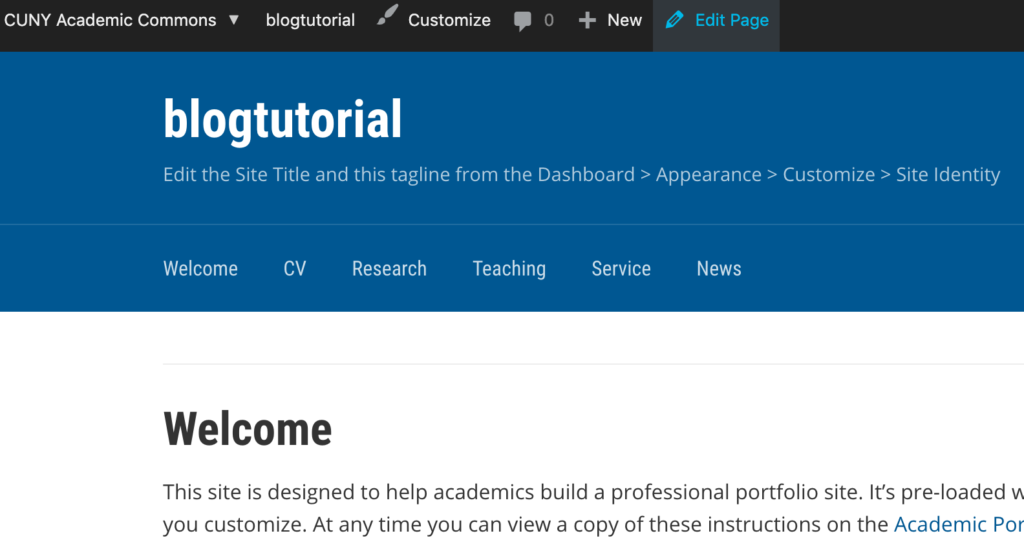
| To edit or add content to an existing page, click on the page you want to edit in the blue header (such as “Welcome,” for example).
Note: In order for the menu choices to appear, you have to be logged in to the CUNY Academic Commons. |
 |
|
|
|
| Then click “Edit page,” the leftmost button on the black bar at the top of the screen. |  |
|
|
|
| Each page comes pre-loaded with instructional text to help you customize it. Read the text and then replace it with the content you want to display. On the Welcome page, for example, you would likely want to place a brief personal bio, including a statement of your research interests, summary of publications, teaching areas, and affiliations. You may also want to place a photograph on this page. |  |
Adding media to pages
| You can add images to your page by clicking the “Add Media” button on the grey toolbar. (The icon features a camera and a music note). | 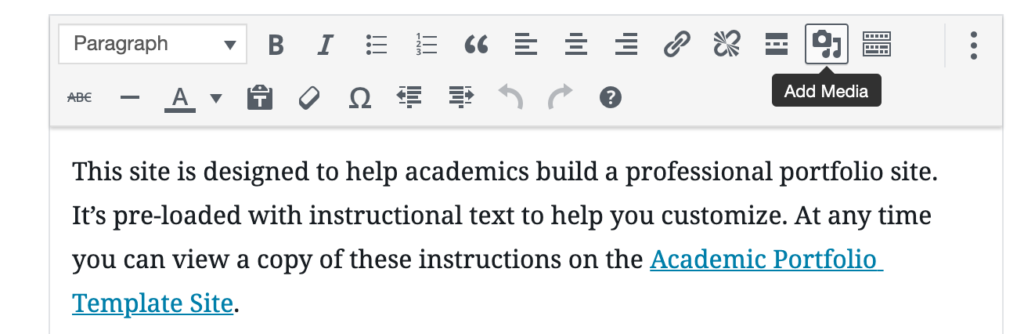 |
|
|
|
| Clicking this button will open the WordPress Media Library. Drag or select an image from your computer to insert it in your page. | 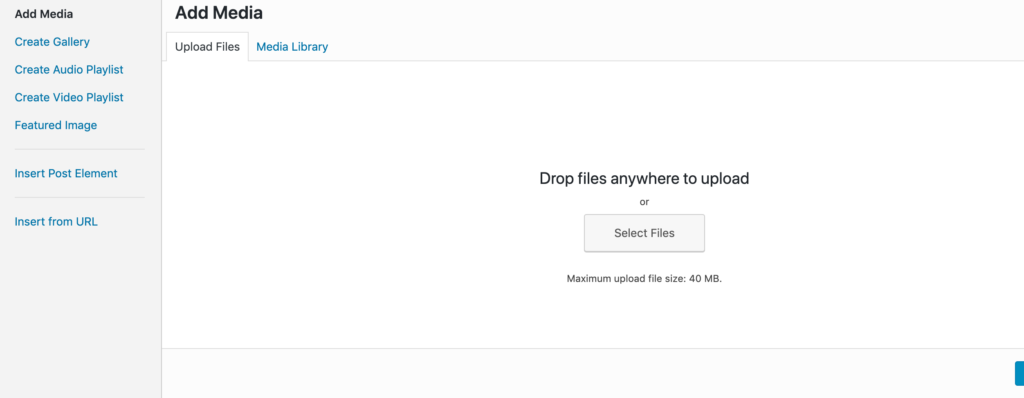 |
|
|
|
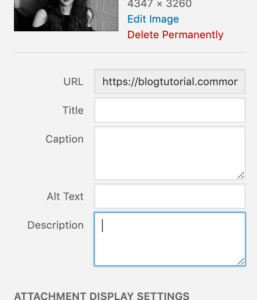
| It’s best practice to include as much information about your image as you can. Doing so will help you keep track of the images in your media library, help your site appear in search engine results, and will improve accessibility for those with impaired vision or screen reader devices.
If possible, fill in the following Attachment Details:
|
 |
|
|
|
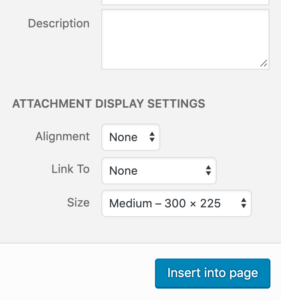
Adjust the Attachment Display Settings to control how your media embed will be displayed when viewed on the site. You will have the following options:
|
 |
Creating a new page
| If you’d like to create a new page for your site, click on “New” on the top black bar and then select “page” from the dropdown menu. | 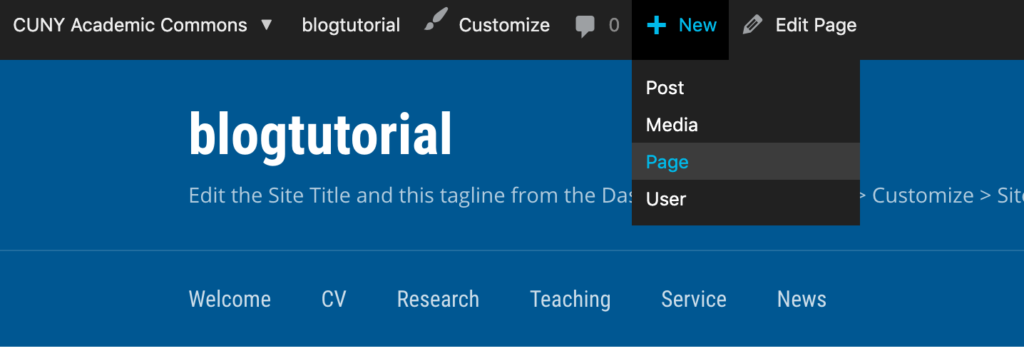 |
|
|
|
| Add the desired content and title for your new page and click “publish” (the blue button on the upper left). | 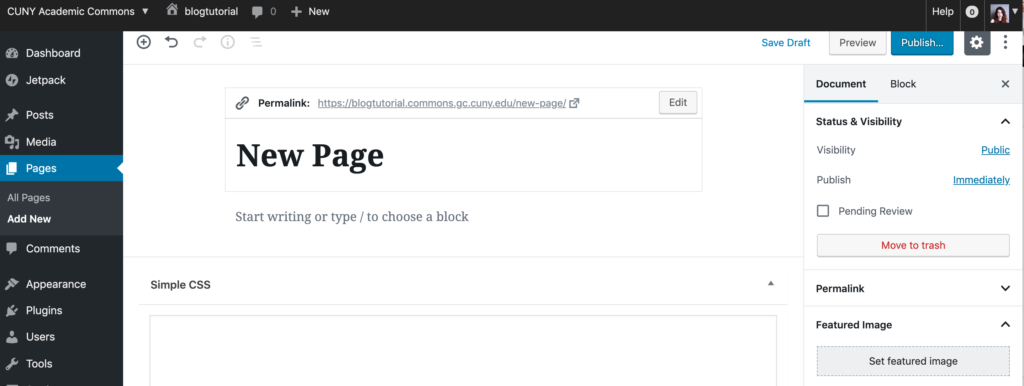 |
Creating posts
 The Academic Portfolio Template automatically displays posts in the News category, accessed by clicking on the leftmost menu item on the blue header. You can use posts to update readers on recent achievements, upcoming plans, or weigh on on timely issues. Your most recent post will appear at the top.
Note that this is only applicable to the Academic Portfolio template. Other templates might act differently.
| To craft a new post, click “New” on the black bar at the top of the screen and then select “post” from the dropdown menu. | 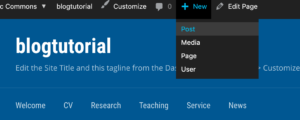 |
|
|
|
| Then simply add the desired content and title for your new post. | 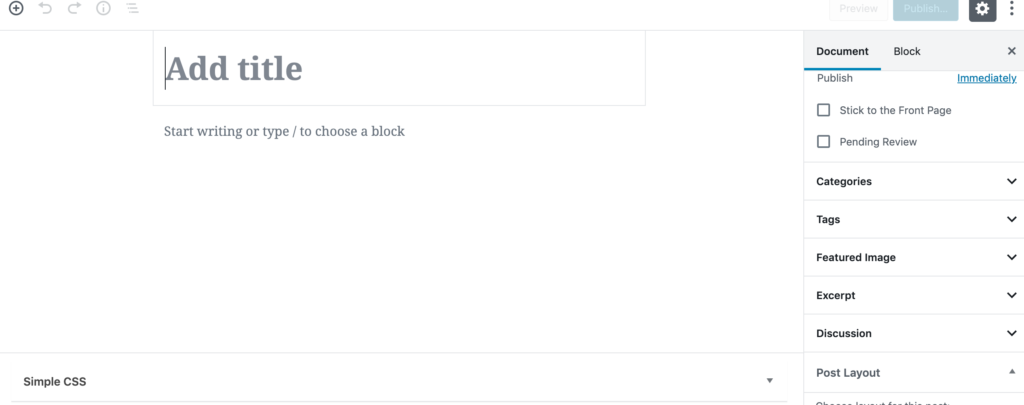 |
|
|
|
| Click on the cogwheel-shaped Settings icon on the top left to tag, save, or publish your post. You can also set a featured image. | 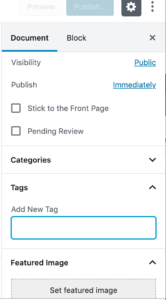 |
Organizing Posts
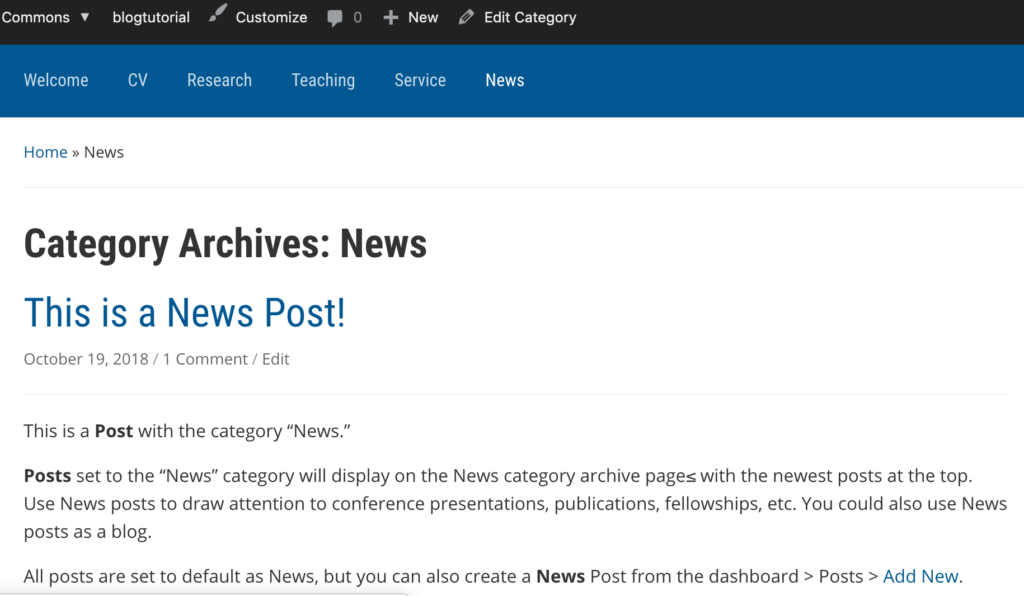
| Say you want to change the name of your category (from “News” to “Blog,” for example). To do this, click “Edit Category”–the leftmost item on the top black bar. | 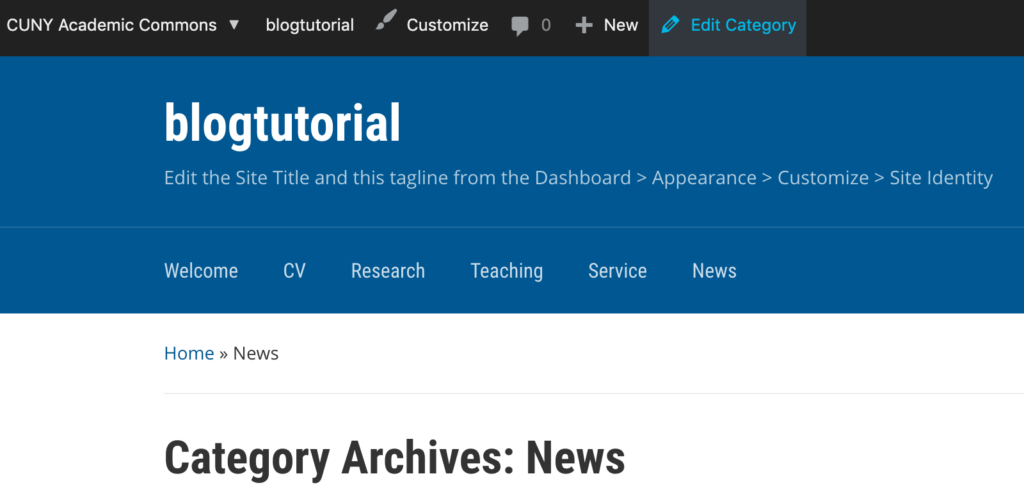 |
|
|
|
| To create an additional home for posts on your site, click on “Posts” on the black vertical bar on the lefthand side of the screen and then select “Categories.” Add the name of your new category in the designated box and click “Add New Category” at the bottom on the screen. | 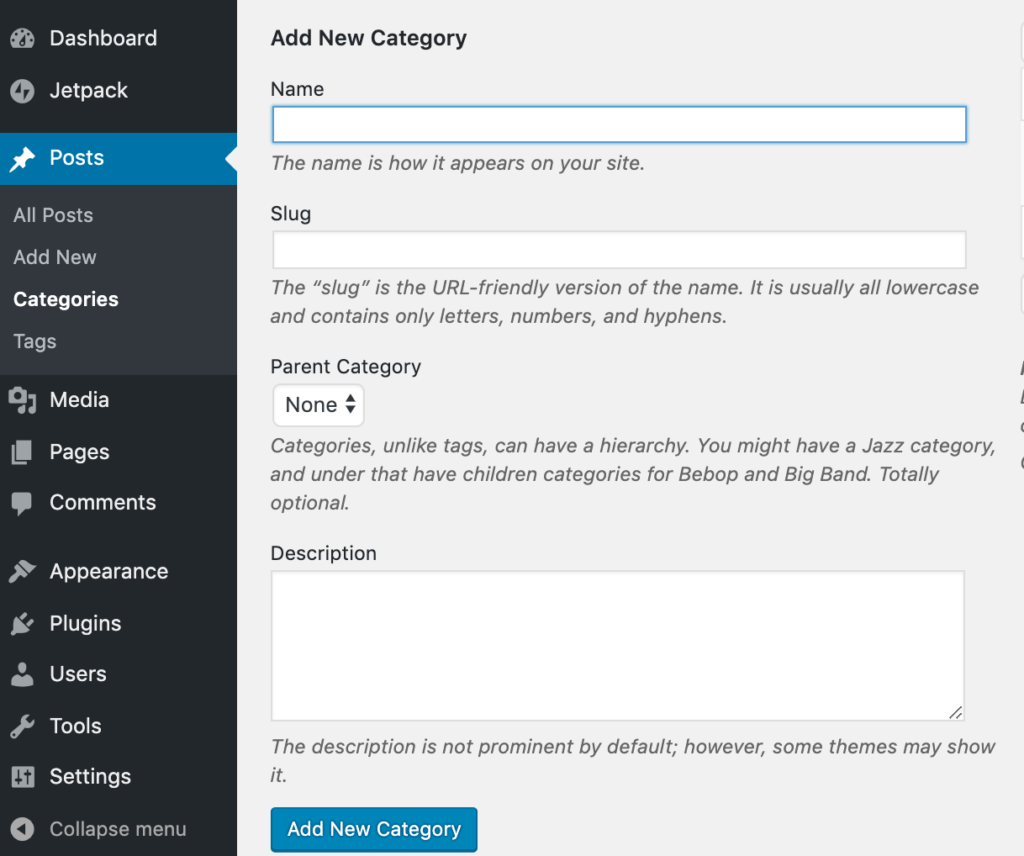 |
|
|
|
| Now, add the category you just created to the site menu by clicking on “Appearance” in the black lefthand bar and then selecting “Menus.” Click on “Categories” at the bottom of the menu –to expand it. | 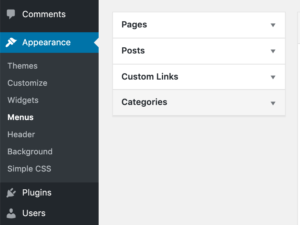 |
|
|
|
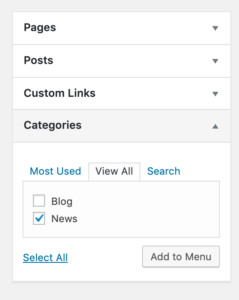
| Select “View All,” click on the new category you want to add, and hit the “Add to Menu” button.
Note: you can also add pages to your menu in the same way by expanding the “Pages” tab. |
 |
|
|
|
| After clicking “Add to Menu,” you will now see your new category or page displayed in the Menu Structure. You can drag each item into the order you prefer and click the arrow on the right of each item to reveal additional configuration options. When you are happy with your menu structure, click the “Save Menu” button at the bottom left. | 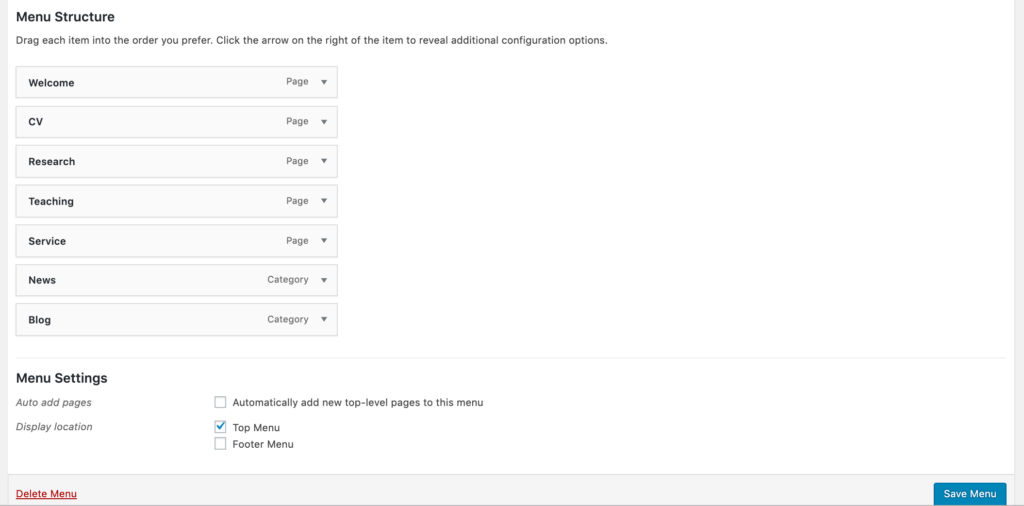 |
Now that you have set up your profile, created and edited pages and posts, embedded media, and organized your site menu, you have mastered the essentials of building an academic portfolio on the CUNY Academic Commons. As you grow comfortable with these basic elements, feel free to explore the myriad other features—such as plugins and widgets—that allow you further customize your site according to your needs. For more tips and resources on getting started on the Commons, consult the FAQ!
-Chloe Wyma